Sunday, September 28, 2014

No. 31: Back to School Hairstyles


So school is back for some of us *sigh* and here are probably some ideas that you could use when you are running out of time to make your hair. With these tutorial, I hope i could help you guys.

All you need are:
1. Hair Essentials (Optional)
2. Comb
3. Elastic Hairbands
4. Bobby Pins/Hair Pins
5. Hair Accesories (Optional)

Today I am giving you 5 tutorials from bun styled to loose braid. 

1. Braided Bun
This look is easy to make because all you need to do is tie your hair up in a high ponytail, braid it, then pin it up with bobby/hair pins. It looks like you gave a lot of effort to achieve this look but actually it only took you about 3 minutes or less!

2. Twist Braid
Twist braid maybe the most easiest hairstyle to do. All you need is bobby pins for this look. First you need to section your "pony" or the front part of your hair  into 2, then twist the 1st part to the 2nd. Then repeat that part while also taking a small chunks of hair, once you have reached the part of your choice secure it with bobby pins.

3. Halo Braid
This look is for when you feel like going for a really cute look, because it just do. First grab chunks of hair near your ears and start making a normal braid, vice versa with the other side. Then secure it  with some elastic bands in the end, after that put the braid around your other part of your head behind your ear and secure it with bobby/hair pins. Also the same with the other side. Make sure to hide the bobby/hair pins with some hair so people wont see those parts. You can curl your bottom part of the hair but its optional for sure.


4. Fishtail Braid
This braid is probably my most used braid because it is quite hippie and it matches with any type of outfit. It may take a little while to get used to it but its totally worth it. First all you need to do is separate the hair into 2 parts (ex, P1 and P2). Pick pieces of your P1 hair behind the P2, then pick pieces of P2 hair behind P1. Keep on doing that until you are happy with the length, then secure it with some hairties. If you feel like going all out, put on some hair accesories like Flower Crown, Headbands and many more.

5. Half French Braid + Braid in Braid
Half French Braid is almost the same as Dutch braid. Take 3 section of hair from the top of your head and braid it, once youve done that take pieces of the hair and braid it over to the other part. Keep on doing that until the middle part of the hair. Once you have done them secure it with elastic bands. After you have secure them divide it into 3 again but pick one of the part and braid it normally and then tie them with elastic bands. For the last step, braid your hair normally until the length that you desire. After all of that has done, you could cute the first elastic band so that it wont look rigid. Try to loose the braid so it will give you this messy look.

So that is it for todays post
Thankyou and I'll post more next time
BYEE🌸

Monday, August 11, 2014

No. 29: Kylie Jenner Look

Today I am posting on a look that I'm digging for, which is the "Kylie Jenner" look. For all I know she got the most coolest "teenage style" there is that you could get, she have this awesome sets of outfits that I love and I am sure that I am not the only one who Loves her style. She recently had her 17th birthday so I am dedicating this post to her! (eventho theres 0 chance that she will see this post)

Kylie uses alot of Crop Tops, Flannel Shirt, and Ripped Shorts/Boyfriend Jeans. So this is what I got.

Top: Forever 21
Jeans: Uniqlo
Plaid Shirt: GU
Shoes: GU
Necklace: GU

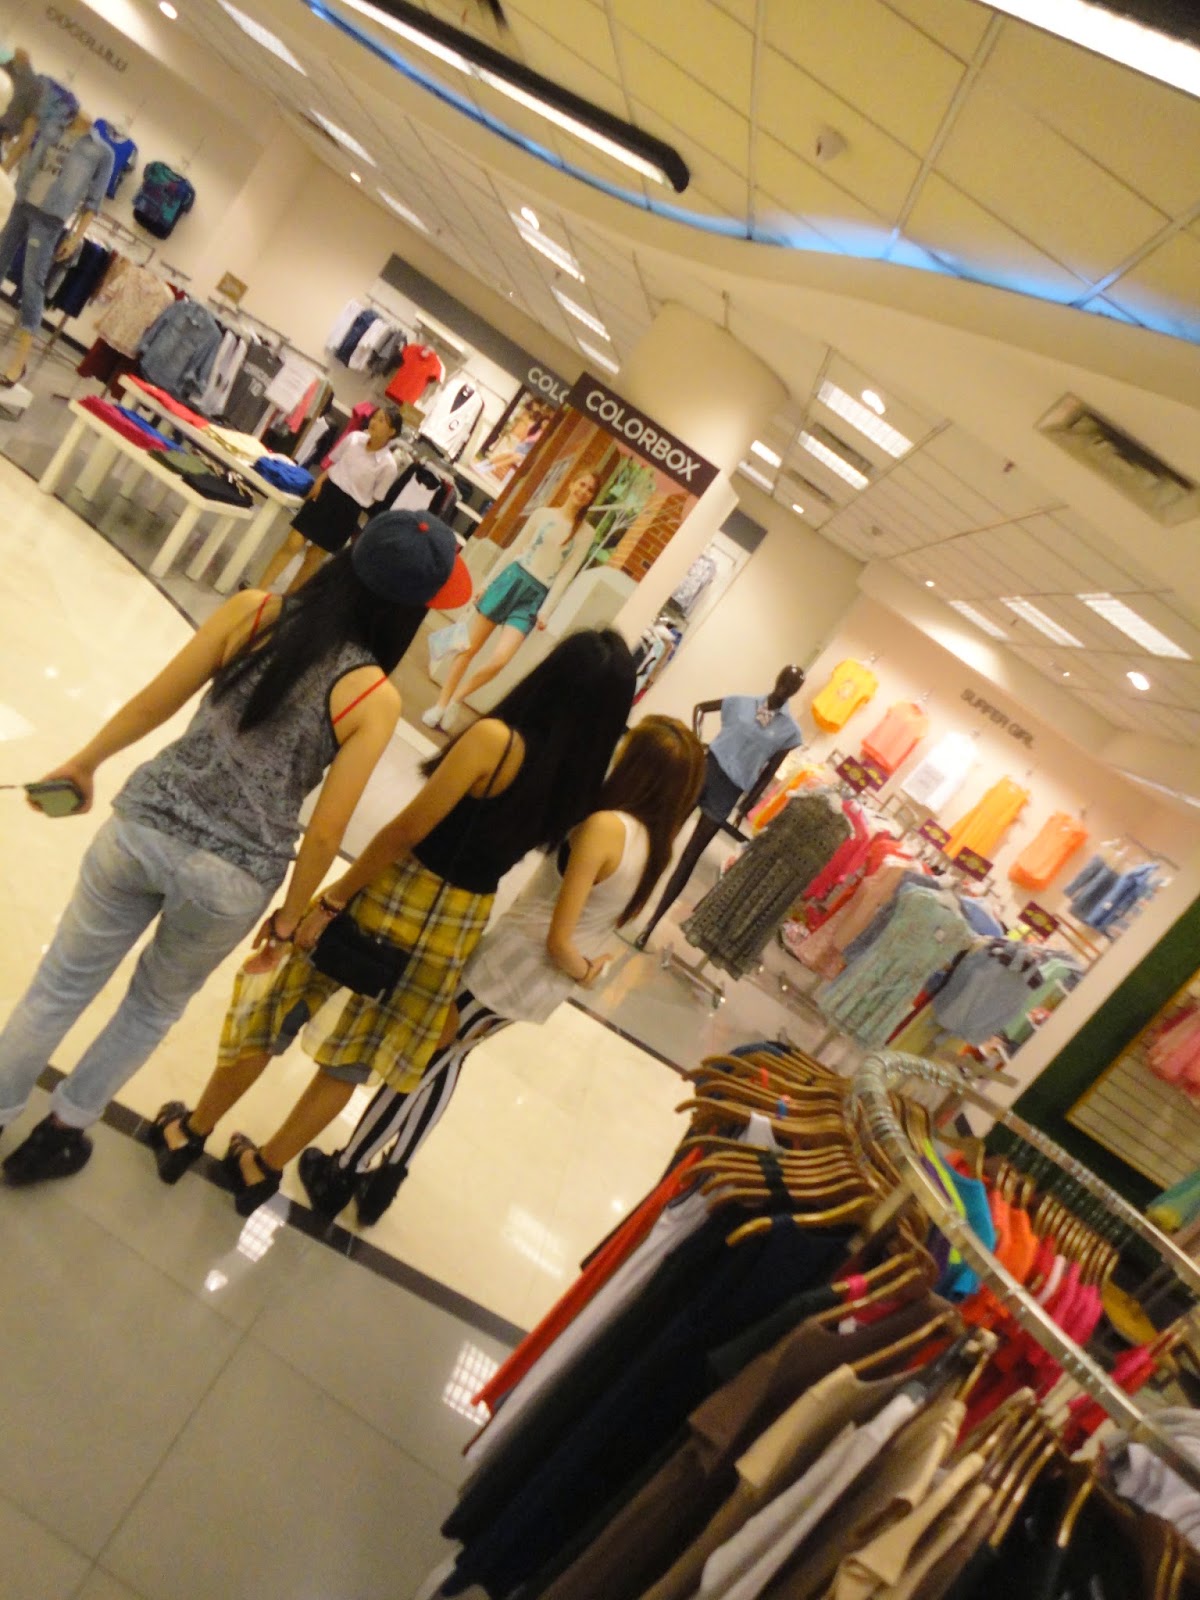
Also in the same day, I was hanging out with Joyi and Gebie, my Saturday dance buddies (Just like the last time, if you havent checked it out then you should! . We had a ton of fun that day by laughing our asses off and did some little shopping. And somehow we ended up taking tons of pictures in Momi and Toys which have this YUMMIEST crepe ever. So yeah, a great day I must say.


You can see more of Kylie Jenner's style more in her IG: @kyliejenner

Wednesday, July 2, 2014

No. 28: Nail Polish

Heyaa!
So today I'm posting something about nail polish since I'm  in love with nail polish right now (well, always anyway). I just like how nail polish make an outfit complete. But at some point branded nail polish are pricey and we could always use that money for something better. So I decided to make my own nail polish with the help of internet.

So here are some stuff that you need!
1. Eye shadow (colors of your choice)
2. Transparent nail polish or topcoat
3. Toothpick
4. Paper


How?
1. First you need to scrape the eyeshadow according to the color that you want

2. Then make yourself this kind of circular look to the paper and make sure that there is a hole in the bottom so that the eyeshadow can go through to to the transparent or topcoat nail polish

3. Once you put in the eyeshadow, mix it well to the nailpolish and there ya go! You made yourself a nailpolish


So this is the nailpolish that I made, i think this is the fun and best way to make a nailpolish if sometimes you feel like that branded ones are expensive. I will probably make more nailpolish like this throughout the summer holiday since I'm having one right now.

See you guys next time
BYE

Friday, June 20, 2014

No. 27: Graduating Junior High

Well hey guys,
its been like what? months?
I am so so sorry for not posting anything for these last couple months
It has been such a hectic month lately because of me being in the last year of junior high
(I know my introduction has been this way since long time ago)

Anyway for todays post I am showing you what I wore for Prom and Graduation day, so here it is!

PROM 
18 JUNE 2014


Jumper: H&M
Outwear: H&M
Necklace: H&M
Rings: H&M
Earings: Diva
Shoes: OnlineShop

For this year prom I had a hard time on searching for the right dress because this was the last year for myself to have prom during Junior High. After searching from dresses to dresses I found this edgy chic black jumper that just screamed my name, so without second guessing I tried it and I Loved it. This year prom, I was going for Black & Gold themed colored because I think that suits the most for black colored outfit. I had a ton of fun for this years prom. This may be over dressed for some school prom that's held at school but better over dressed then under dressed right? Or this maybe is under dressed because I am not wearing a dress like the others but oh well that's what i think anyway


GRADUATION
20 JUNE 2014


Kebaya: Local Brand
Purse: Payless

For graduation I used "Kebaya" which is one of the traditional outfit in Jawa, Indonesia.  "Kebaya" usually is used when there are some special event and well graduation is pretty special so yeah there you have it.


Anyway thankyou for reading this post eventhough this is not the best but whatever

And for my friend who is reading this:
Thankyou for this 3 amazing years. Eventhough we have went thru all the hard times we always stick together no matter what. You guys are like my second family that's the same age as I am (some younger). I got tons of memory with each and everyone of you, maybe you guys are right about me only having 1GB memory. But if its about spending some explicit fun times with you guys then I wont forget about it. So this is it guys, we are in High School now can you guys believe it? We go through every experience together and this is the time where we separate. I wont say this is a goodbye because I am sure that we are going to meet again someday.

So see you next time guys,
see you guys in the future. 

Talk to you soon
Reinsight